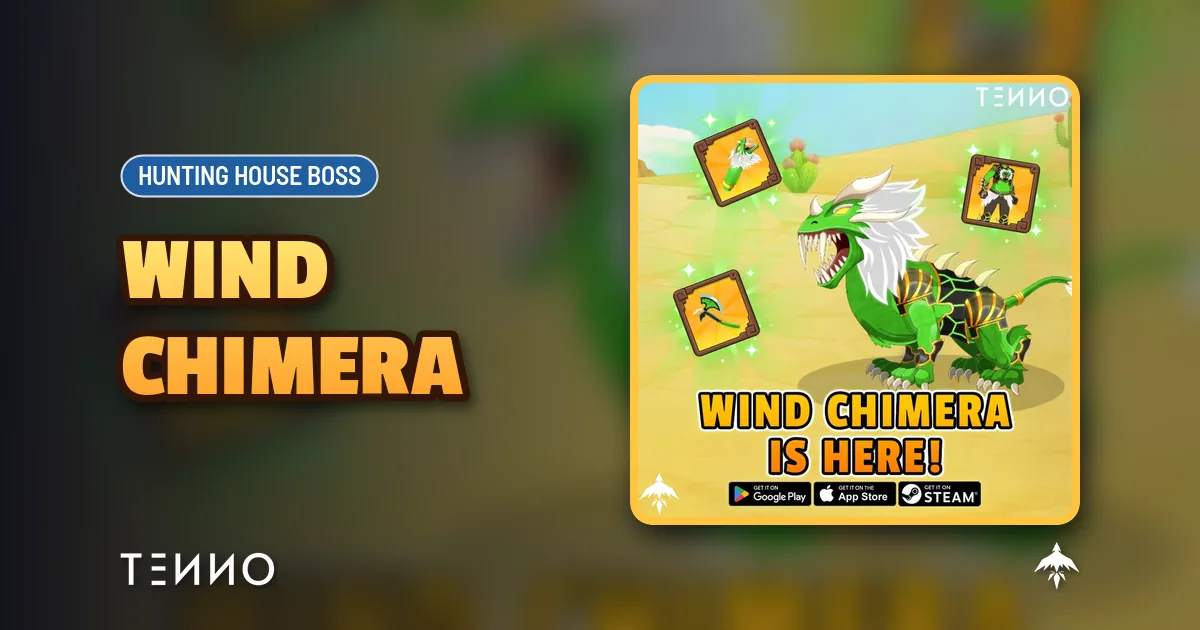
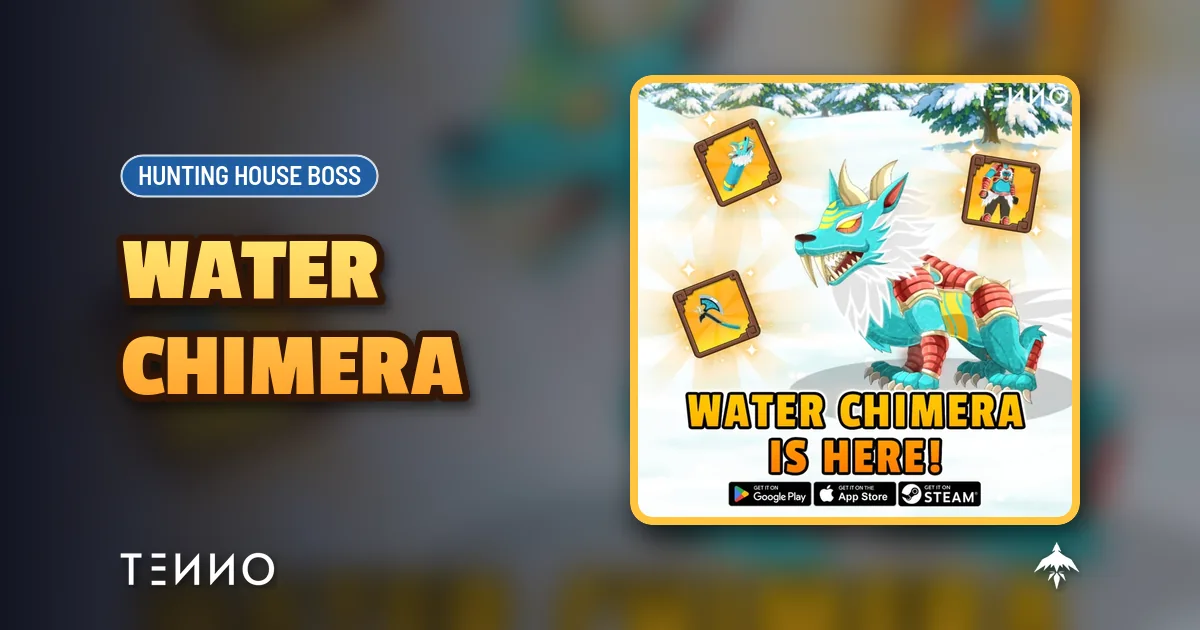
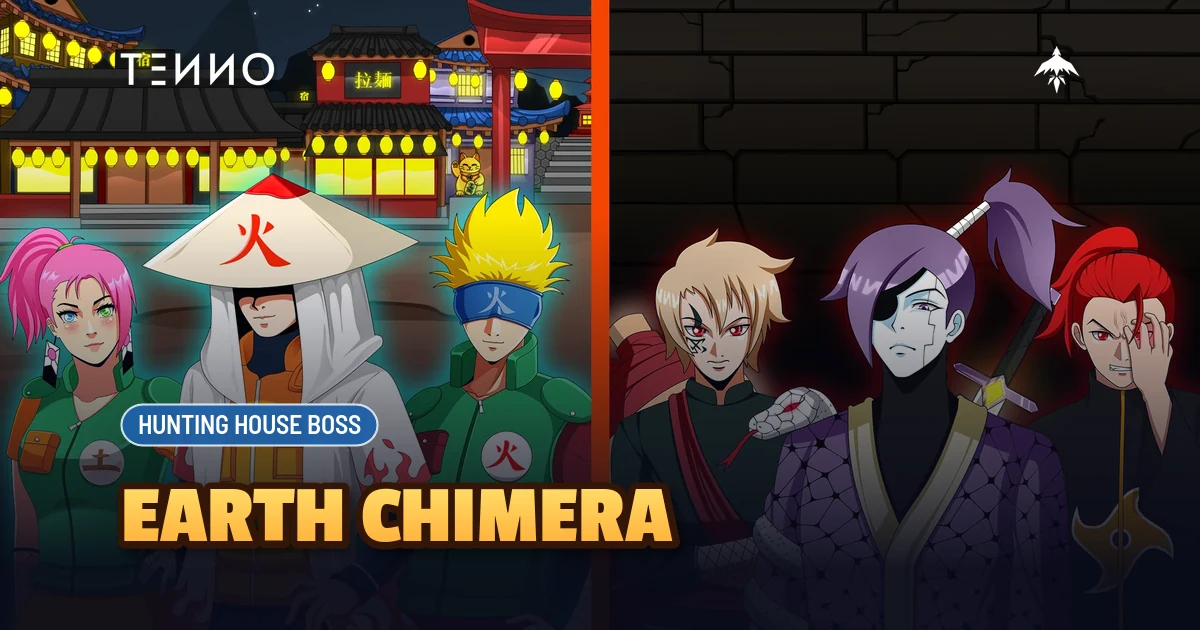
Fire Chimera – Hunting House Boss Guide
The Fire Chimera is the newest single‑boss encounter in the Fire Village of the Hunting House. Its three‑phase fire onslaught tests positioning, elemental counters, and stamina management.
Overview
- Location: Fire Village within the Hunting House
- Encounter Type: Solo or squad‑based boss fight with three distinct phases
- Core Threat: Rapid fire projectiles, lingering flame zones, and a massive arena‑wide burst
- Reward Outlook: Rare crafting materials, exclusive gear, and high‑value currency
Accessing the Encounter
- Open the Hunting House hub from the main menu.
- Select Fire Village as your destination.
- Choose the Fire Chimera node to initiate the battle.
- Assemble a team that balances water‑based damage, healing, and stamina sustain.
Phase‑by‑Phase Mechanics
- Phase 1 – Ember Assault: The Chimera fires quick fire projectiles and a short‑range flame wave. Taking cover behind arena structures reduces incoming damage.
- Phase 2 – Scorching Surge: Fiery AoE zones appear on the floor. Continuous movement is essential to avoid standing in lingering fire.
- Phase 3 – Inferno Overload: The boss channels a massive flame burst that targets the whole team. Interrupting the charge with high‑damage abilities or crowd‑control lessens the final explosion.
Understanding when each phase begins lets you time counters and conserve CP/Chakra.
Optimal Loadout
- Elemental Counter: Equip any water‑based jutsu or gear that mitigates fire damage, such as Water Jutsu.
- Stamina Management: Carry items that restore CP quickly and keep a reserve for emergency heals.
- Damage Dealers: Prioritize single‑target burst damage in Phase 1; switch to AoE water abilities for Phase 2.
- Support: A healer with steady regeneration helps the team survive the flame onslaught and maintain pressure.
Advanced Tactics & Tips
- Safe‑Zone Positioning: During Phase 2, stay near the arena’s designated safe zones to dodge emerging fire patches.
- Interrupt Strategy: Use crowd‑control or a high‑damage burst at the start of the Inferno Overload charge to reduce its potency.
- Practice Runs: Run lower‑difficulty versions of Fire Village to memorize attack cues before tackling the full boss.
- Solo Play: Pair a water‑damage jutsu with a high‑stamina build, focus on dodge timing, and pause between phases to recover CP if needed.
Rewards & Farming
Defeating the Fire Chimera drops valuable rewards consistent with previous Hunting House bosses: rare crafting materials, exclusive gear pieces, and a sizable amount of premium currency useful for upgrades. Because the boss can be challenged repeatedly, it serves as an efficient farming target for players seeking these items.
FAQ
- Where is the Fire Chimera found? In the Fire Village Hunting House, reachable from the Hunting House menu.
- What rewards can I expect? Rare materials, exclusive gear, and high‑value currency, as announced for Hunting House bosses.
- Is the boss available on all platforms? Yes, on iOS, Android, and Steam.
- Do I need a specific level? No strict level requirement, but a well‑equipped team is recommended.
- How often can I fight it? The boss can be challenged repeatedly for farming purposes.